

The last month before you fly decides whether your first week abroad is smooth or chaotic. Here’s the complete 30-day pre-departure framework, week by week, so you land ready, not rattled.
Why a Pre-Departure Checklist for Indian Students Matters
For most families, the last month before you fly is easily the most chaotic phase of the entire study-abroad journey. Visa in hand, tickets booked, family emotional, and yet a dozen small decisions still need to be made. As a result, missing the wrong one turns your first week abroad into a scramble of missing documents, blocked bank cards and forgotten prescriptions.
This pre-departure checklist for Indian students is a full 30-day framework. So work through it week by week, and you will land ready, not rattled.
Days 30 to 21: Documents and Paperwork
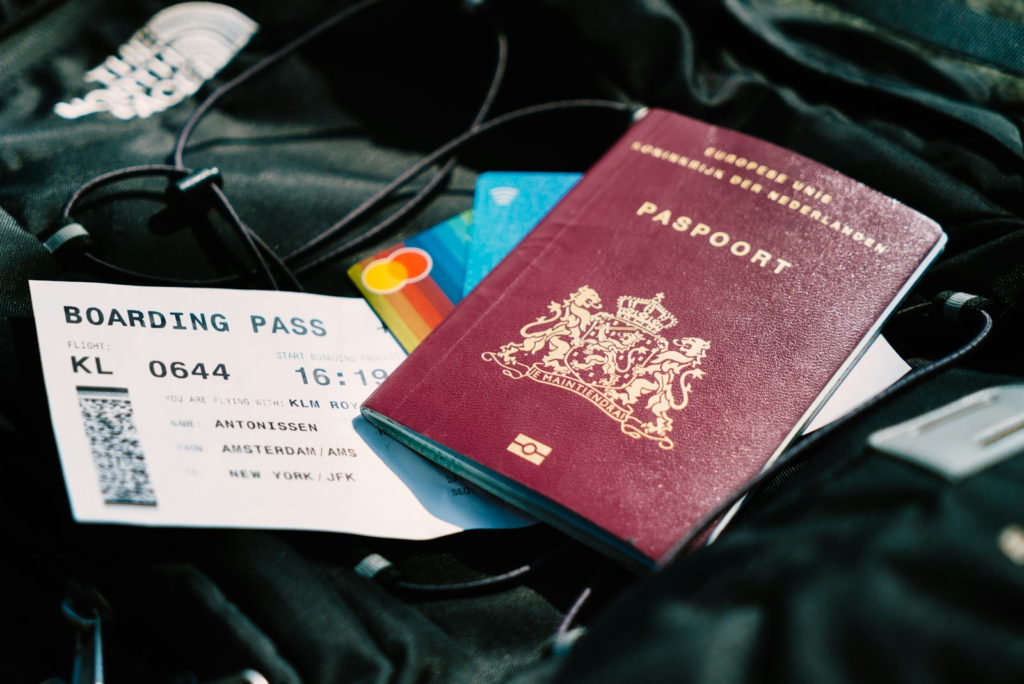
First of all, the opening week of preparation is entirely about documents. After all, if any of these are missing, everything downstream stalls.
- Passport with 6+ months validity beyond your intended stay. Renew immediately if less.
- Student visa stamped in the passport (F-1 for US, Tier 4/Student for UK, Study Permit for Canada, Subclass 500 for Australia).
- University offer letter, I-20/CAS/DS-2019 printed in original and stored as PDF on your phone and cloud.
- Financial documents including loan sanction letter, GIC/blocked-account proof, and last 6 months of bank statements. Keep multiple hard copies.
- Academic documents including all transcripts, degree certificates, and test score reports (GRE, GMAT, IELTS, TOEFL). Original plus certified copies.
- Health insurance policy certificate. Some universities require you to enroll before arrival.
- Accommodation confirmation letter from university housing or lease agreement from your landlord.
- Emergency contact card with parents’ numbers, Indian embassy contact in your destination country, and a friend’s local number.
To stay organised, scan every original document into a single cloud folder that you can access from your phone. Losing paper documents is common; however, losing a well-organised Google Drive folder is not.
Days 20 to 14: Finance, Forex and Banking
The financial setup, meanwhile, is where most Indian students underestimate what needs to happen before boarding.
Forex and Cash
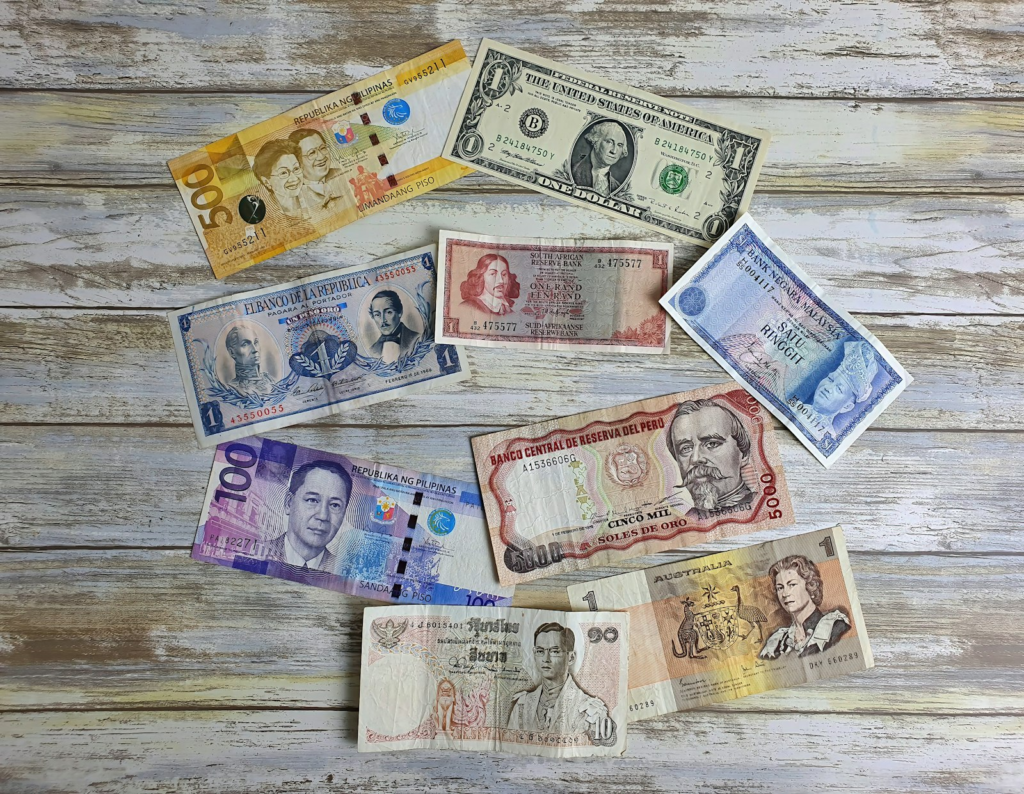
To begin with, carry the equivalent of $500-800 (or country equivalent) in cash for your first week. In addition, use a dedicated forex partner like BookMyForex, Niyo or your bank’s forex service, rather than your local branch’s over-the-counter rates. For example, a 50 paise difference per dollar on ₹5 lakh of remittance is roughly ₹2,500 saved.
Forex Prepaid Cards
Next, load a multi-currency forex card with about ₹2-3 lakh in your destination currency. For instance, HDFC Multi-Currency, ICICI Sapphiro, and Niyo Global are widely used. Also, keep a second card as backup in case the first is blocked or lost.
International Debit or Credit Card
In addition, inform your Indian bank of your travel dates and destination to prevent transactions being flagged as fraud. Then enable international usage explicitly on any Indian credit card you plan to carry.
First-Week Local Banking Plan
Meanwhile, research which local bank to open an account with once you arrive. For example, in the US, Bank of America, Chase and Wells Fargo are common for international students. In the UK, HSBC Advance, Barclays and Monzo. In Canada, RBC, Scotiabank and TD. Above all, book the account-opening appointment in your first week, not your first month.
Days 14 to 7: Health, Insurance and Prescriptions
Healthcare abroad is expensive and different. Therefore, a little preparation here saves you a lot of pain in month one.
- Vaccinations. Most universities require an updated MMR, chickenpox, TB screening and meningitis vaccine. Some also require a COVID-19 booster within 12 months.
- Dental checkup. Get a full dental exam and any cleaning or filling done before you fly. Dental care abroad is expensive and often not covered by student insurance.
- Eye exam and glasses. Carry two pairs. Prescription glasses cost $300-600 abroad.
- Prescription medications. Carry a 90-day supply of any medication you take regularly, along with a prescription in your doctor’s letterhead.
- Basic India kit. Paracetamol, ORS sachets, antacid, Betadine, thermometer, band-aids and a strip of azithromycin (with prescription).
- Health insurance card printout. Carry both a hard copy and a digital version. Note the emergency contact number.

Days 7 to 3: Packing Essentials
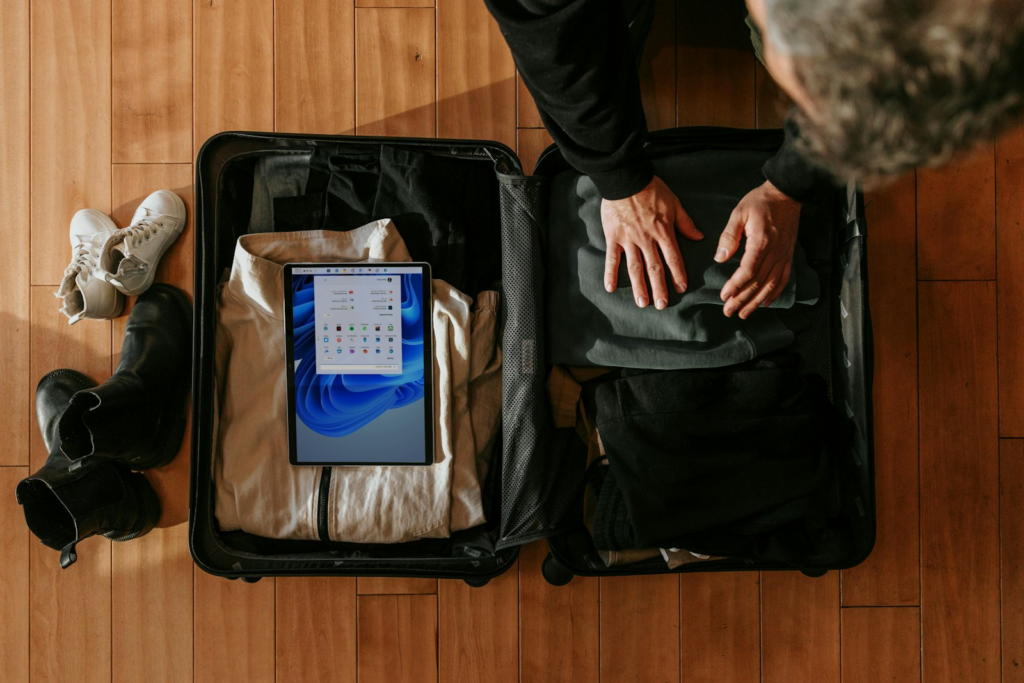
You have limited baggage allowance. So pack for the first month, not the first year, because almost everything can be bought locally after you land.
Clothing
Pack two weeks of daily wear plus one formal set for interviews or events. However, do not buy a full winter wardrobe in India. Winter coats are cheaper, warmer and country-appropriate abroad; therefore, buy them after you land.
Kitchen Essentials for Indian Students
A small steel pressure cooker (the single most valued item in most Indian students’ luggage), a pre-loaded masala dabba with your six essential spices, MDH/Everest sachets of two favourites, ginger-garlic paste tubes, and 8-10 packets of Maggi with masala for emergency meals.
Electronics
Bring your laptop, phone, chargers, and a universal power adapter. Voltage converters are needed only if your device does not support 110-240V. In fact, most modern chargers do.
Documents in Carry-On
Every important document goes in your carry-on, rather than checked baggage. That is, passport, visa, offer letter, financial docs, insurance certificate, and prescription letters. Never check these in.
Days 3 to 0: Final Week and Travel Day
Finally, the last stretch is all about logistics and mental prep.
- Confirm flight status 24 hours before departure and check in online.
- Weigh your baggage. Airlines charge ₹4,000-8,000 for even 2-3 kg overweight.
- Note your airport’s international terminal and reach 3-4 hours before departure.
- Keep the university’s international student office phone number handy for the arrival week.
- Download offline maps of your destination city on Google Maps.
- Pre-book an airport pickup or note the local ride-share app you will use.
- Set up WhatsApp calling with parents at a fixed daily time for the first two weeks.

First 48 Hours After Landing
Ultimately, your arrival plan matters as much as your departure plan.
Day 1
First, complete airport immigration and pick up your luggage. Then get to your accommodation. Next, buy a local SIM (or activate an international eSIM before departure so you land connected). After that, contact your family to confirm arrival. Finally, buy basic groceries: bread, milk, eggs, water, an apple, and your first Maggi.
Day 2
First, visit the university international student office to register your arrival. Then sort out your student ID, campus WiFi, and any orientation registration. Meanwhile, explore your immediate neighbourhood on foot. Finally, find the nearest Indian grocery store on Google Maps.
Five Mistakes Families Make in the Pre-Departure Phase
- Waiting until the last week to start. Documents that need re-issue or notarisation can take 7-10 days. Start 30 days out, not 7.
- Overpacking for weather they haven’t experienced. Winter clothing bought in India rarely handles a Boston or Toronto winter. Buy locally.
- Skipping the medical checkup. Small issues become expensive problems abroad.
- Forgetting to inform Indian banks and mobile carriers. Cards get blocked, and roaming activation gets delayed at the worst possible moment.
- Landing without local currency in hand. Even ATMs sometimes don’t work with Indian cards on the first day. Cash matters.
The Bottom Line
Overall, a good pre-departure checklist for Indian students is not about carrying more; rather, it is about carrying the right things and preparing in the right sequence. In short, 30 days is enough time if you start on day 30. However, it is nowhere near enough if you start on day 10.
If you would like a structured pre-departure orientation tailored to your destination and university, that is exactly what Learner Aid’s end-to-end counselling includes. Reach out at learneraid.com/contact-us and land on Day 1 already ahead of everyone else in your batch.